Marine Air Conditioning Maintenance
Marine AC Maintenance

How to Maintain Your Boat AC
Whether you're enjoying a weekend getaway or embarking on a long voyage, there's nothing quite like the comfort of cool air conditioning on your boat. But to keep that refreshing breeze flowing all season long, proper maintenance is key.
On this page, we'll walk you through some simple steps for maintaining your marine air conditioning system and ensure smooth sailing ahead!

As Eric often says when considering marine ac maintenance, you need 3 things to make your boat's air conditioner work:
- Free flowing air over the condenser(s) to prevent the coils from freezing
- Enough seawater pumping through the system to keep up with the heat generation
- Consistent power with enough amperage for start-up and running (note: many of the newest ac units have soft starts and/or variable speed compressors to reduce the starting power required, but older units don't typically have this)
Before we get started, make sure you properly winterize and de-winterize your boat ac system by removing the seawater from the system.
Clean or replace the air filters of your boat's air conditioner.

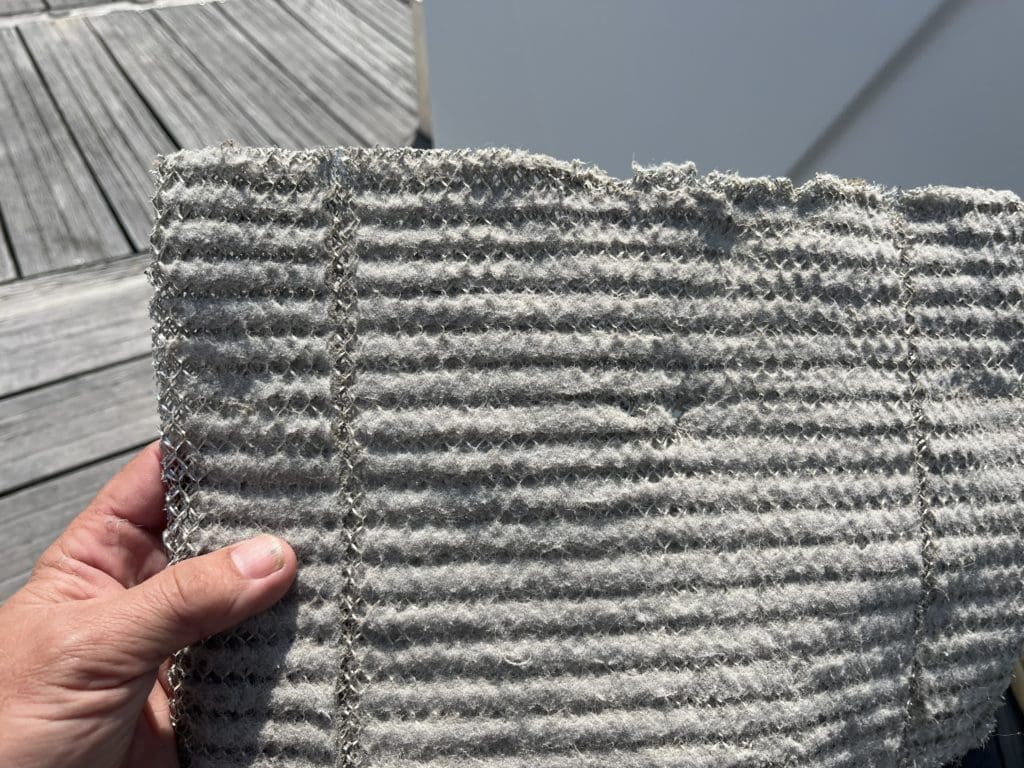
Most ac units have 2 or more air filters. You'll want to make sure you remove the return air grill to get access to the outermost filter. Also, most ac units have a second air filter closer to the a/c unit itself. It's critical to keep both filters clean.
Depending on the boat and conditioning of the filter, you may be able to clean them with a shop vac or you may have to replace them. This is the single most important (and often overlooked) component of boat air conditioner maintenance.
Check your ductwork
Look for any places where there may be bottlenecks or where the ducting has collapsed or reshaped. It's important that round ducts remain round, for example, to be able to move enough air efficiently.


Check the seacock and hosing for your salt pump system
Inspect all of the hosing and the seacock(s) before launching the boat, if possible. Look for:
- any corrosion on hose clamps
- signs of rodent damage (unlikely, but possible!)
- check that seacock(s) move smoothly
- inspect strainer gaskets for any signs of damage or debris
Clean the seawater system of marine life and debris
We recommend using compressed air to clean the seawater system. Remove any debris you can from both intake and exhaust ports. Clean the strainer and replace if it's damaged.
Once the boat is launched, check how the water flows out of the exhaust port. It should be a consistent stream. The bucket test is a great way to confirm flow rate.
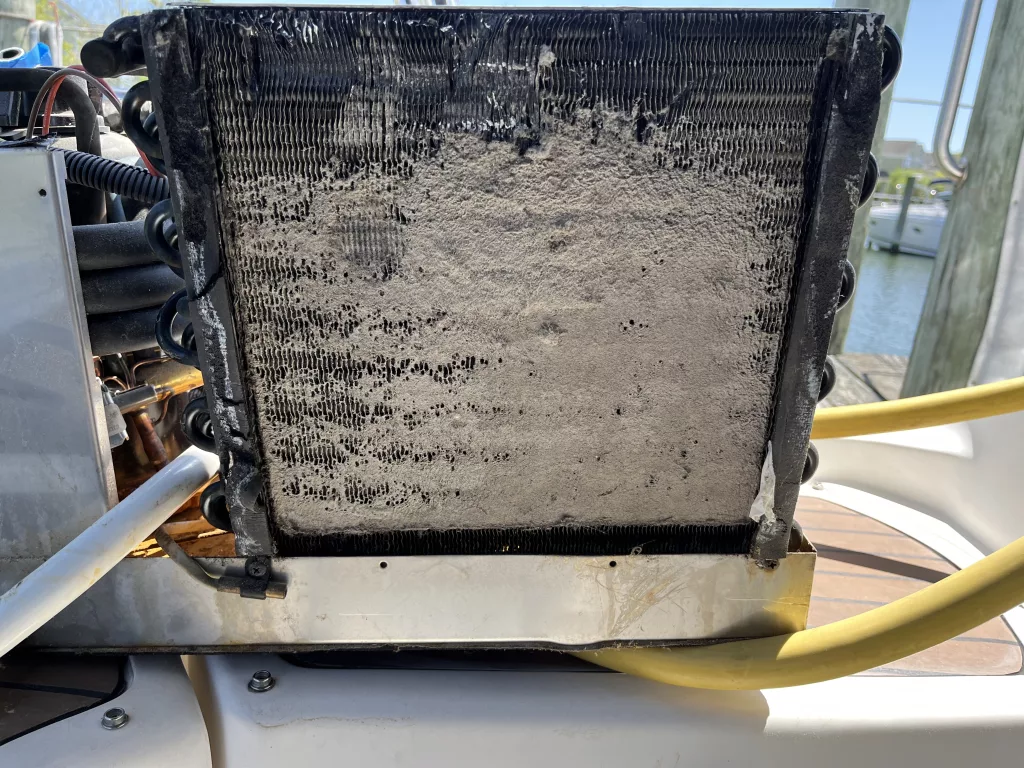
Gently clean the evaporator coils

It is important not to bend or otherwise damage the very fragile aluminum or titanium fins on your marine air conditioning unit. If the fins are damaged, airflow will be restricted.
This is a common reason why coils freeze. There are some specialized vacuum attachments that can help you clean them without damaging them (see our product recommendations).
Check the electrical connections and power load
Inspect all the wiring and the breaker. If you want to take an extra precautionary step, check the amperage (aka power draw) of the AC unit when it starts and when it's running (see our recommended marine products page for a quality meter). Compare those to the manufacturers specifications.
If your unit is drawing more power than expected, consult our troubleshooting boat ac page. Higher than expected power draw usually indicates a problem with refrigerant level (ie leak) or significant air blockage while low power draw often indicates that the compressor isn't running at all (usually you'll see an error code).

For 12 volt marine ac systems or other DC systems, ensure that your batteries are fully charging, operating within manufacturers specs and aren't overheating regularly. Most modern marine Lithium battery systems include monitoring and management technology, It's critical that you heed any warnings to ensure safe, reliable operations.
Check the pressure gauges
Many Marine AC units come with refrigerant pressure gauges to help ensure smooth operation and identify problems quickly. Ensure that your gauges are within normal operating ranges. It's important that you check them soon after turning on the unit as well as once the unit has been running for a while. Sometimes problems with refrigerant or compressors don't show up until a unit has run for a while.
Check your condensate pan for rust, debris or damage
Make sure that your condensate pan is water tight, that it drains properly (check your condensate pump if you have one) and that it doesn't have excessive rust or corrosion. We often find that boat a/c units over 10 years old have leaky condensate pans. These can lead to mold, staining or rot as the water goes where it isn't supposed to.
Ensure that your condensate pan is draining well. The video below shows our preferred system for emptying condensate - using a venturi valve to pull the condensation water from the pan into the raw water discharge.

